
How to Use Embed
These steps walk you through adding a CheckTLS test to your website or intranet. The end result is feature that looks and works like this:
These steps add a CheckTLS feature to a webpage:
- add an empty page
- add the form
- connect the form to CheckTLS
- add your license info
- troubleshooting
- change the test type
- put it into production
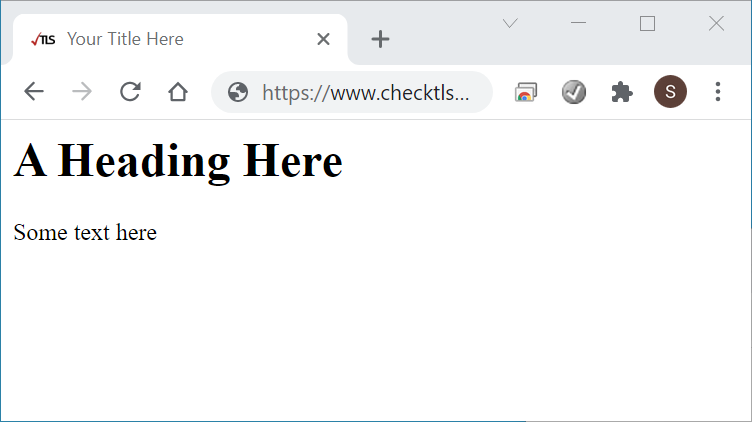
Add an Empty Page
Add an empty webpage on your web server, for example:
<HTML>
<HEAD>
<TITLE>Your Title Here</TITLE>
</HEAD>
<BODY>
<H1>A Heading Here</H1>
<P>Some text here</P>
</BODY>
</HTML>
Test it with your browser on your PC:
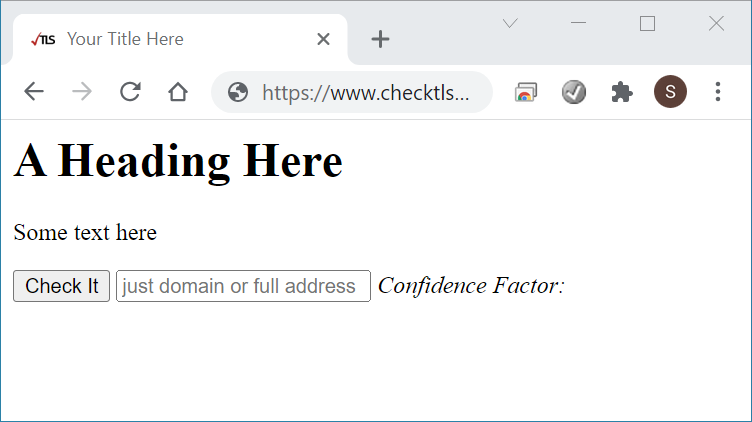
Add an Empty Form
Add the CheckTLS test form to the page:
<HTML>
<HEAD>
<TITLE>Your Title Here</TITLE>
</HEAD>
<BODY>
<H1>A Heading Here</H1>
<P>Some text here</P>
<form>
  <button type="button" >Check It</button>
  <input id="input" style="width:16em;" type="text" placeholder="just domain or full address" required="required" />
  <em>Confidence Factor:</em>
  <span id="result" />
</form>
</BODY>
</HTML>
Test it with your browser on your PC:
Connect the Form to CheckTLS
Add JavaScript to the page (the <SCRIPT></SCRIPT> lines and the code between them):
<HTML>
<HEAD>
<TITLE>Your Title Here</TITLE>
</HEAD>
<BODY>
<H1>A Heading Here</H1>
<P>Some text here</P>
<form>
  <button type="button" onclick="WidgetTestReceiverFunction( this );">Check It</button>
  <input id="input" type="text" placeholder="just domain or full address" required="required" />
  <em>Confidence Factor:</em>
  <span id="result" />
</form>
</BODY>
<script>
  function WidgetTestReceiverFunction( button ) {
    var input = document.getElementById("input");
    var result = document.getElementById("result");
    var span = input.nextElementSibling.nextElementSibling;
    if( !Boolean(input.value) ) {
      return(0);
    }
    result.innerHTML = "working";
    var xhttp = new XMLHttpRequest();
    xhttp.open( "POST", "/Embed", true );
    var formData = new FormData();
    formData.append( "CHECKTLS_URL", "/TestReceiver" );
    formData.append( "a_EMAIL", input.value );
    formData.append( "a_LEVEL", "XML_SCORE" );
    formData.append( "a_QUICK", "on" );
    formData.append( "XF", "eMailAddress:ConfidenceQFactor");
    formData.append( "ACTION", "ShowResult" );
    xhttp.onreadystatechange = function() {
      if (this.readyState == 4) {
        result.innerHTML = "error";
        if (this.status == 200) {
          var xmlDoc = this.responseXML;
          if( xmlDoc ) {
            var nodeCF;
            nodeCF = xmlDoc.getElementsByTagName("ConfidenceQFactor")[0];
            if( nodeCF ) {
              var score = nodeCF.childNodes[0].nodeValue;
              if( score ) {
                result.innerHTML = "<b>" + score + "</b>";
              }
            }
          }
        }
      }
    };
    xhttp.send( formData );
  }
</script>
</HTML>
Test it in the browser on your PC by entering "checktls.com", without the quotes, into the input box and clicking the Check It button (only "checktls.com" will work at this point!):
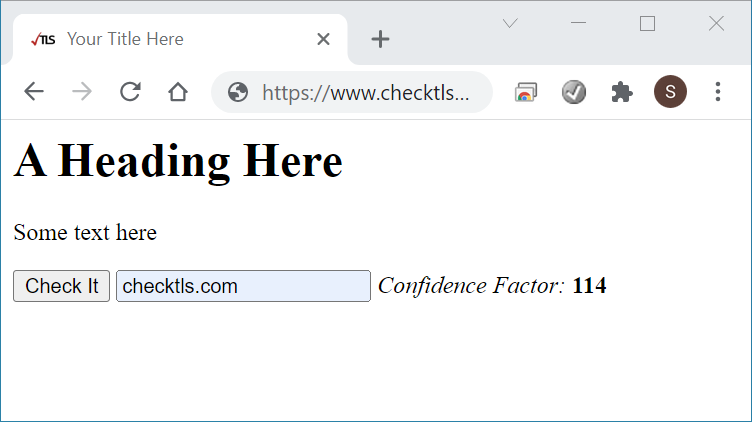 You should have a number after the Confidence Factor.
Add Your License Info
If you haven't already, use to generate your specific AUTHORIZATION code.
Add this AUTHORIZATION code to the page (the lines between and including 'formData.append(' and ');'), replacing the example AUTH long lines with your AUTH lines.
Note that the formData.append line and all the AUTH code lines must end with a backslash:
<HTML>
...lines deleted...
    xhttp.open( "POST", "/Embed", true );
    var formData = new FormData();
    formData.append( "AUTH", " \
BDyLoLwMcmsKSlgHc/wT1fxjLTcD7vpxK5j+KhjFQ4aefy7iG0Igje9fm7MgS7pTBOq8L58UiJTx \
aAuQsREmil+mhJqPmLt9XIHMQ0Bof0mS/DrEvFwe5c4vCl/KW7zf9h+pMGYcg1ITx3c6zrm+RfFt \
UAO0tiu+EwW4I75+ROKTaLHHVV3spdjOig+pCGR3cG2pm1jbfVY3nNKTr12yftXE8N8B+Z44eGoz \
UdqaSQ0+qCRt/g8GlVlkT+XoD+102e8p722kdygqPYCLZJ1U5Ul7TIayrByAb7PmNCpjO7mRotdU \
5mHitA73L49az7eFlPVT9VgswzsEeehDo8keqZOT/2gUB45DyzgK8vRte12JFJJQ4DItAuAalZUI \
7/TCXa/zzUXegtaaeZJcJnPUtPvClUJ2KMrevI0bi+uRTQdurslJly1B1gBblYJTqf3FKkB6L0we \
aeUlS/uEG+jy4wrNU2dDQ3fsBNXDL4//5leem5SeUeR6B+1/IUjA4IJfJQx1/BeCXdV1XWHXe7J3 \
xaeWGZixNsufQtaZmclRH7fY4aok5JGqvaARCbjtMCLE8dVnnNcBmMXqNPVLb9N9KGWvbZQ/iw5M \
KXfHgc71fST4jv6LiiaNr5jjuJcLxz3cxOMcoqOy0FFneO8uGscrnq75F2YCtUvXx7VKl8QQA5o= \
  " );
    formData.append( "CHECKTLS_URL", "/TestReceiver" );
    formData.append( "a_EMAIL", input.value );
...lines deleted...
</HTML>
Test it in your browser as above but now any domain should work:
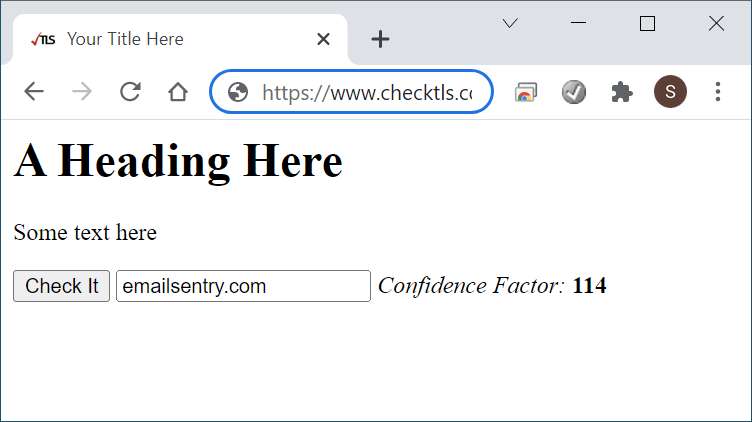 You should again have a number after the Confidence Factor.
The complete example webpage is here. Use View Source or Save As to get the HTML code. Again the HTML code in the example only works when hosted at CheckTLS.com. You must replace our AUTH with your AUTH for the HTML to work on your webserver.
Troubleshooting
If any of the steps up to Add Your License do not give the results shown here you should consult your web developer. Everything up to the license step is standard HTML web development and we do not offer support for standard HTML.
If only the license step fails, you can verify that your license is correct by running Embed interactively and not embedded in a webpage.
On your PC, browse to and fill in the fields as shown below, but using your AUTH code:
 Click the Show Test Result button and you should get the raw XML output from /TestReceiver (the CHECKTLS_URL parameter in the JavaScript):
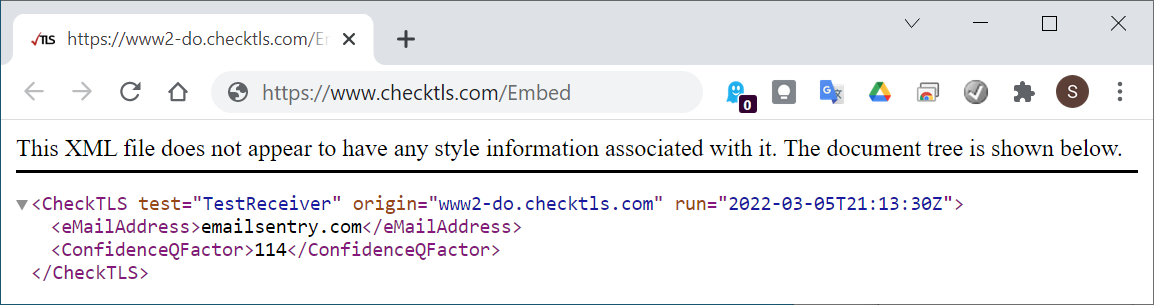 If the reseult is XML as above then you have an error in your HTML and you should consult your web developer.
If the result is not raw XML, this interactive Embed allows you to easily debug any errors.
If you believe everything is correct and the interactive Embed does not return the correct result, you can contact us for support.
Please include a screenshot of the Embed input fields and any error(s) that you receive.
If the reseult is XML as above then you have an error in your HTML and you should consult your web developer.
If the result is not raw XML, this interactive Embed allows you to easily debug any errors.
If you believe everything is correct and the interactive Embed does not return the correct result, you can contact us for support.
Please include a screenshot of the Embed input fields and any error(s) that you receive.
Change the Test Type
Embed will most often be used to put , but it can be used to put any API enabled test onto a webpage.
For example, the CheckTLS.com homepage has examples of embedded tests done as Widgets.
We use Widgets to encapsulate the HTML and JavaScript; you can use the Widget or copy the Widget's code and use it directly.
As another example, this Widget uses TestReceiver options to test a webserver instead of an email server:
<div style="display:inline-block; border:1px solid black;">
<form>
  <button type="button" onclick="WidgetTestWebserverFunction( this );">Check It</button>
  <input style="width:16em;" type="text" placeholder="just domain or full address" required="required" />
  <em>Confidence Factor:</em>
  <span style="background-color:#FFFF88"><i>(displays here)</i></span>
  <a class="button" target="_blank" style="display:none;" href="/TestReceiver?LEVEL=DETAIL&EMAIL=">Show Detail</a>
</form>
</div>

<script>
if( typeof WidgetTestWebserverFunction !== 'function' ) {
  function WidgetTestWebserverFunction( button ) {
    var input = button.nextElementSibling;
    var span = input.nextElementSibling.nextElementSibling;
    var a = span.nextElementSibling;
    if( !Boolean(input.value) ) {
      return(0);
    }
    span.innerHTML = "working";
    span.className = "warning";
    var xhttp = new XMLHttpRequest();
    xhttp.open( "POST", "/Embed", true );
    var formData = new FormData();
    formData.append( "AUTH", " \
<!--#include virtual="/AUTH.txt" -->" );
    formData.append( "CHECKTLS_URL", "/TestReceiver" );
    formData.append( "a_EMAIL", input.value );
    formData.append( "a_LEVEL", "XML_SCORE" );
    formData.append( "a_PORT", "443" );
    formData.append( "a_MXHOSTLIMIT", "1" );
    formData.append( "a_DIRECTTLS", "on" );
    formData.append( "XF", "eMailAddress:ConfidenceFactor");
    formData.append( "ACTION", "ShowResult" );
    xhttp.onreadystatechange = function() {
      if (this.readyState == 4) {
        span.innerHTML = "error";
        span.className = "failure";
        if (this.status == 200) {
          var xmlDoc = this.responseXML;
          if( xmlDoc ) {
            var nodeCF = xmlDoc.getElementsByTagName("ConfidenceFactor")[0];
            if( nodeCF ) {
              var score = nodeCF.childNodes[0].nodeValue;
              if( score ) {
                span.innerHTML = "<b>" + score + "</b>";
                if( score >= 90 ) {
                  span.style.backgroundColor = "#A0FFA6";
                } else if ( score >= 75 ) {
                  span.style.backgroundColor = "#FFFF88";
                } else {
                  span.style.backgroundColor = "#FFA0A6";
                }
              }
            }
          }
        }
      }
      a.style.display = "inline-block"; // make visible
    };
    xhttp.send( formData );
    a.href = "/TestReceiver?LEVEL=DETAIL";
    a.href += "&EMAIL=" + input.value;
  }
}
</script>
Put it into Production
The stand-alone page that these instructions build uses plain HTML and JavaScript without any add-ins or special browser specific hacks, so it should be easy to put it into production. Your web developer can add the stand-alone code to your production webpage(s) and use your normal HTML and CSS to style the form with your colors, fonts, button styles, backgrounds, etc.